Irresistible Cookie Monster Ice Cream That Brings Out Your Inner Child
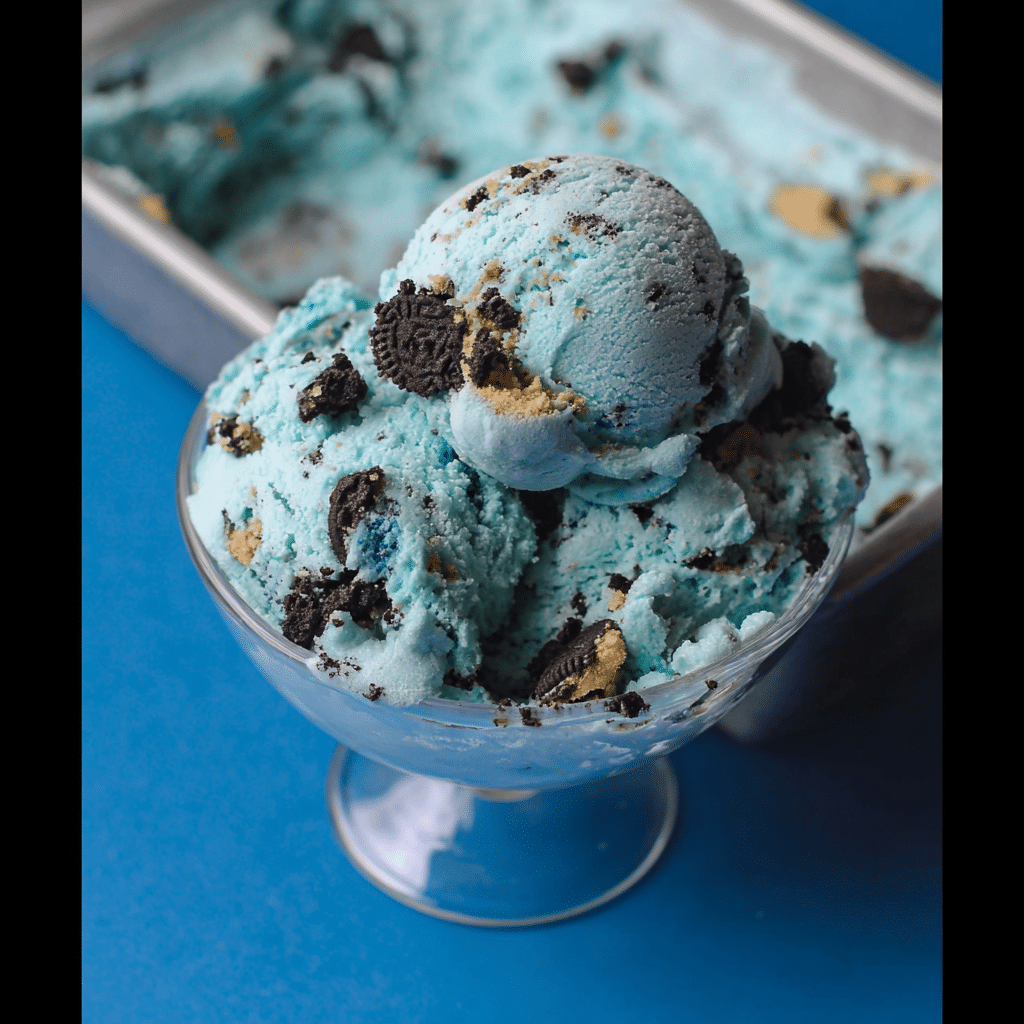
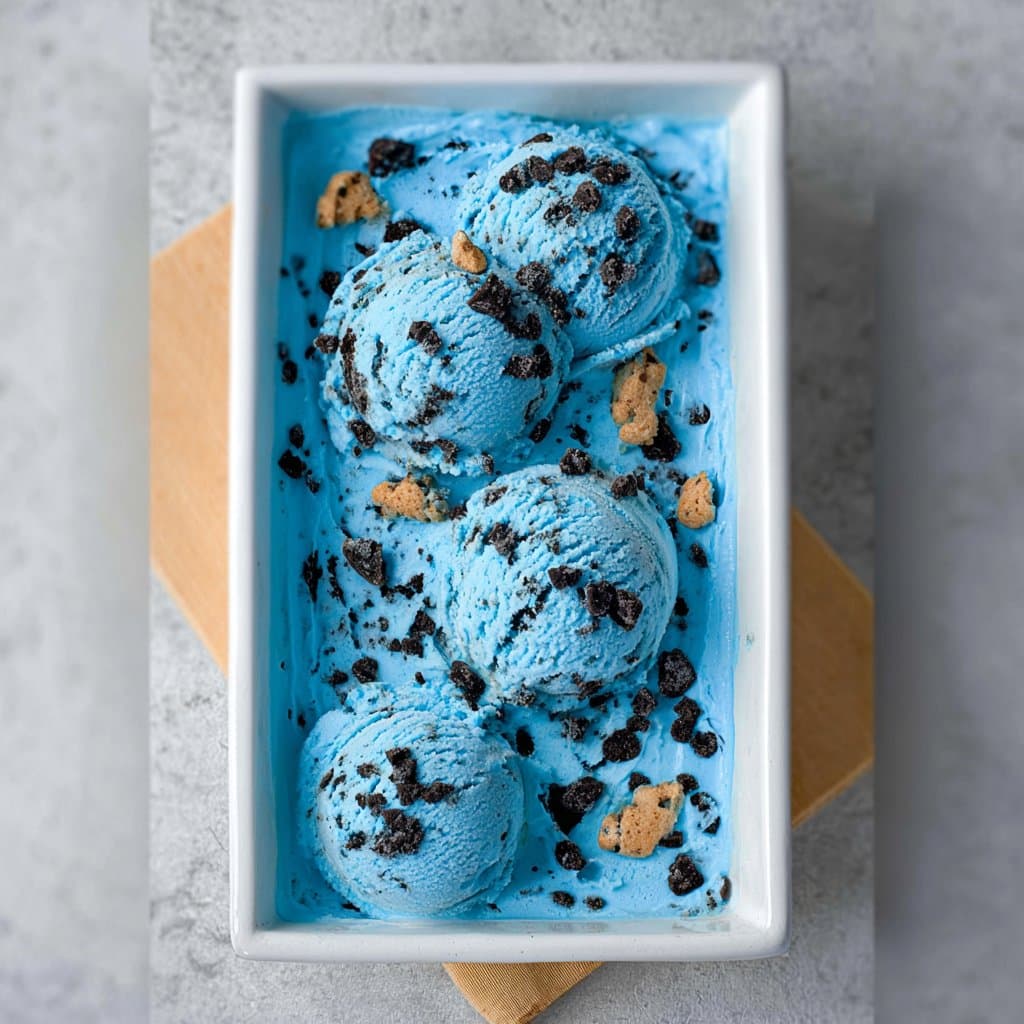
Cookie Monster Ice Cream is the ultimate fun treat — creamy, colorful, and full of cookie-loaded goodness. This no-churn Cookie Monster Ice Cream has a smooth vanilla base, a bold blue hue, and chunks of cookies and dough in every spoonful. It’s playful, nostalgic, and made to bring smiles to both kids and adults.
Whether you’re celebrating a birthday or simply craving something sweet, Cookie Monster Ice Cream is a simple, no-fuss way to enjoy a homemade dessert that’s as joyful as it is delicious.
Why You’ll Love This Cookie Monster Ice Cream
There’s something undeniably magical about Cookie Monster Ice Cream. Maybe it’s the bright blue color that instantly lifts your mood, or the creamy texture that melts into cookie-studded bliss. For me, it’s the moment the spoon hits that perfect mix of cookie dough and chocolate crunch — like childhood in a single bite.
You’ll love how easy this recipe is. No ice cream maker, no fancy steps — just a few ingredients and a lot of love. The vanilla flavor isn’t too sweet, and the chunks of Oreo and cookie dough give it that perfect chewy-crunchy contrast. It’s the kind of dessert that invites laughter, messy faces, and that “just one more scoop” feeling.
Perfect for birthday parties, movie nights, or those spontaneous cravings that only something like Cookie Monster Ice Cream can fix.
Cookie Monster Ice Cream

Bright-blue vanilla ice cream packed with Oreo pieces, chocolate-chip cookies, and edible cookie dough. No ice-cream maker required—just whip, fold, and freeze for a playful, crowd-pleasing treat.
- Large chilled mixing bowl
- Hand or stand mixer
- Silicone spatula
- 9 × 5-inch loaf pan or 1.5 qt freezer-safe tub
- Plastic wrap or airtight lid
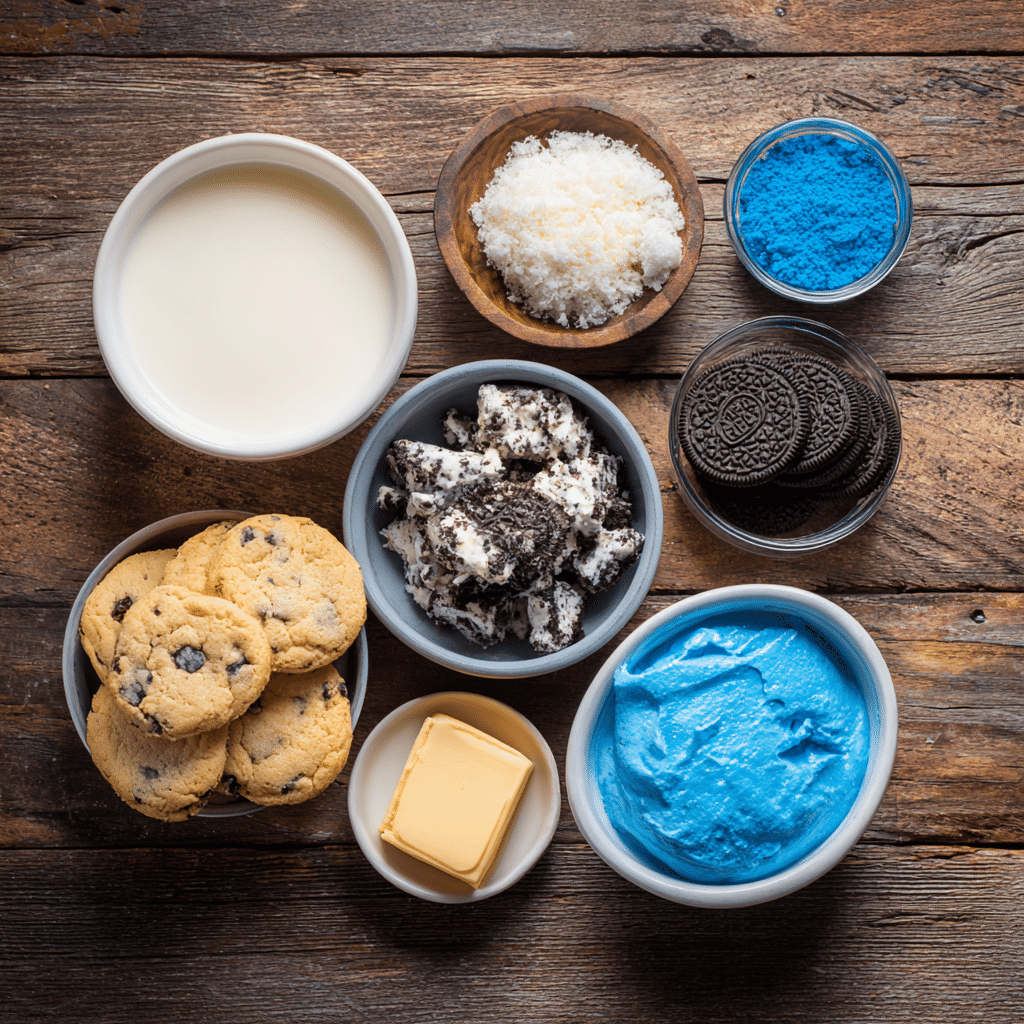
- 2 cups cold heavy whipping cream
- 1 can (14 oz) sweetened condensed milk
- 2 tsp pure vanilla extract
- Blue gel food coloring – a few drops, to desired shade
- 10 Oreo cookies, roughly chopped
- 6 chocolate-chip cookies, chopped
- 1 cup edible cookie dough chunks (store-bought or homemade)
Whip Cream – In the chilled bowl, beat heavy cream on medium-high to stiff peaks (2-3 min).
Tint Base – In a separate bowl, whisk condensed milk, vanilla, and blue gel until evenly colored.
Fold – Gently fold whipped cream into blue mixture in three additions, keeping volume light and airy.
Add Mix-ins – Stir in chopped Oreos, chocolate-chip cookies, and cookie-dough chunks until just distributed.
Freeze – Pour into loaf pan, smooth top, sprinkle extra cookie bits. Cover tightly; freeze 6 hrs or overnight until firm.
Serve – Let sit 5 mins at room temp for easier scooping. Enjoy in cones, sandwiches, or straight from the tub!
-
Gel vs Liquid Color: Gel keeps the base thick; liquid dye can thin the mixture.
-
Ultra-Chunky Tip: Reserve a handful of cookies to press into the top before freezing for photo-ready scoops.
-
Flavor Swaps: Sub mint extract for ½ tsp of vanilla and add crushed mint cookies for a mint-chip twist.
-
Storage: Airtight and deep-freeze ≤ 2 weeks for best texture and flavor.
Ingredients for Cookie Monster Ice Cream

| Ingredient | Amount |
|---|---|
| Heavy whipping cream | 2 cups (cold) |
| Sweetened condensed milk | 1 can (14 oz) |
| Vanilla extract | 2 teaspoons |
| Blue gel food coloring | A few drops (as desired) |
| Oreo cookies | 10, roughly chopped |
| Chocolate chip cookies | 6, chopped |
| Edible cookie dough | 1 cup (store-bought or homemade) |
Note: Want a dessert that uses similar cookie magic? You might also enjoy the buttery base in this pistachio butter for creative spins later on!
How to Make Cookie Monster Ice Cream (Step-by-Step)
Step 1: Whip the Cream
In a chilled mixing bowl, beat the cold heavy whipping cream using an electric mixer on medium-high until stiff peaks form. This gives our ice cream its luscious, cloud-like base.
Step 2: Mix the Sweet Cream Base

In a separate bowl, whisk together the sweetened condensed milk and vanilla extract. Add in a few drops of blue gel food coloring until you get that iconic Cookie Monster hue — I like a deep, playful blue, but you can go lighter if you prefer.
Step 3: Fold Gently
Gently fold the whipped cream into the blue milk mixture. Use a spatula and go slow — this keeps the texture airy and scoopable.
Step 4: Add the Cookie Magic
Stir in the chopped Oreos, chocolate chip cookies, and chunks of edible cookie dough. Make sure every bite gets a bit of everything — the creamy, the chewy, and the crunch.
👉 Tip: If you’ve ever made our cottage cheese banana bread, you’ll know how delightful hidden textures can be!
Step 5: Freeze
Pour the mixture into a loaf pan or airtight container. Smooth the top and add a few more cookie pieces for good measure. Cover and freeze for at least 6 hours, or overnight if you can wait that long.
Rafel’s Tips for the Best Cookie Monster Ice Cream

- Use gel coloring instead of liquid to avoid thinning the cream base. A little goes a long way — think bold, bright, and blue like childhood dreams.
- Freeze your mixing bowl and beaters for 15 minutes before whipping the cream. It’ll whip up faster and hold shape better.
- Texture is everything. Don’t over-chop the cookies — those chunky bites make the magic happen. Leave some pieces big enough to sink your spoon into.
When I want to impress guests or surprise my nieces, I sometimes swirl in a ribbon of chocolate fudge before freezing. It’s a secret twist that reminds me of the richness in my favorite cowboy butter, where flavor layers bring every bite alive.
For another creamy, spoonable idea that brings a smile, you could even try serving this ice cream after a cozy batch of greek lemon rice soup — a little comfort before the fun.
Fun Variations to Try
- Mint Cookie Monster Ice Cream: Add a few drops of mint extract for a refreshing twist. The cool flavor pairs beautifully with chocolate cookies — think of it as summer’s best mash-up.
- Monster Mash Swirl: Swirl in peanut butter or Nutella before freezing for a gooey surprise in every scoop.
- Chunky Monkey Style: Add mini marshmallows and a handful of chopped walnuts — it gives a texture party similar to our playful fluffy cottage cheese cloud bread.
If you’re in a salty-sweet mood, crumble bits of protein bagels on top before serving — trust me, that contrast is unexpectedly delightful. Or go bold with a drizzle of bang bang salmon bite glaze for an avant-garde twist… just kidding (unless you’re into dessert experiments!).
Serving Ideas for Cookie Monster Ice Cream

Cookie Monster Ice Cream is fun to eat and even more fun to serve. Scoop it into waffle cones, add a drizzle of chocolate syrup and rainbow sprinkles — and suddenly, it feels like a birthday party on a summer afternoon.
For an indulgent twist, sandwich scoops of Cookie Monster Ice Cream between two chocolate chip cookies. It gets messy, melty, and unforgettable — just the way childhood should taste.
Another favorite? Serve Cookie Monster Ice Cream over warm brownies. The contrast between cold cream and gooey chocolate is a dream. I sometimes do this after a cozy family dinner like smothered chicken and rice — sweet endings matter.
You can also get creative: spoon Cookie Monster Ice Cream into small mason jars, then top with crushed dubai chocolate strawberries. That berry crunch with creamy blue ice cream? Pure magic.
Let your scoops sit out for 5–10 minutes before serving for that perfect texture — a softness that reminds me of rice krispie ice cream, gently melting into every bite.
One Last Scoop of Memory
Making Cookie Monster Ice Cream always brings me back to that feeling of blue-tongued laughter, sticky fingers, and wide-eyed wonder. It’s not just about cookies and cream. It’s about pausing long enough to savor something playful. Something joyful. Something that reminds us not to take life — or dessert — too seriously.
Sometimes, the best moments are the ones where you’re barefoot in the kitchen, scooping ice cream into bowls with too much whipped cream on top. Sometimes, all we really need is a spoon, a quiet evening, and a scoop of Cookie Monster Ice Cream to feel like everything’s going to be just fine.
If this recipe brought a smile to your face, you might also find joy in the whimsy of my peanut butter jelly time — because dessert is never just dessert.
FAQs About Cookie Monster Ice Cream
Can I make this without blue food coloring?
How long does homemade Cookie Monster Ice Cream last?
Can I use different cookies?
For more heartwarming recipes and behind-the-scenes baking moments, join me on Facebook and Pinterest. Let’s bake and create memories together.


really fantastic