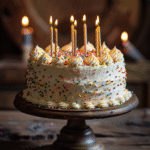
Happy Birthday Cake – A Nostalgic, Homemade Classic
Every year on my birthday, my grandmother would bake a special cake that filled our home with the sweet aroma of vanilla and love. I remember the excitement of watching her mix the batter, the anticipation as it baked, and the joy of sharing it with family and friends. That cake was more than just a sweet treat—it embodied celebration, unity, and treasured moments shared with loved ones.
This Happy Birthday Cake recipe is inspired by those delightful memories. It’s a classic vanilla cake, moist and fluffy, topped with creamy buttercream frosting and a cascade of colorful sprinkles. Whether you’re celebrating a child’s first milestone or a grandparent’s golden year, this Happy Birthday Cake brings back the warmth, laughter, and joy that only birthdays can offer.
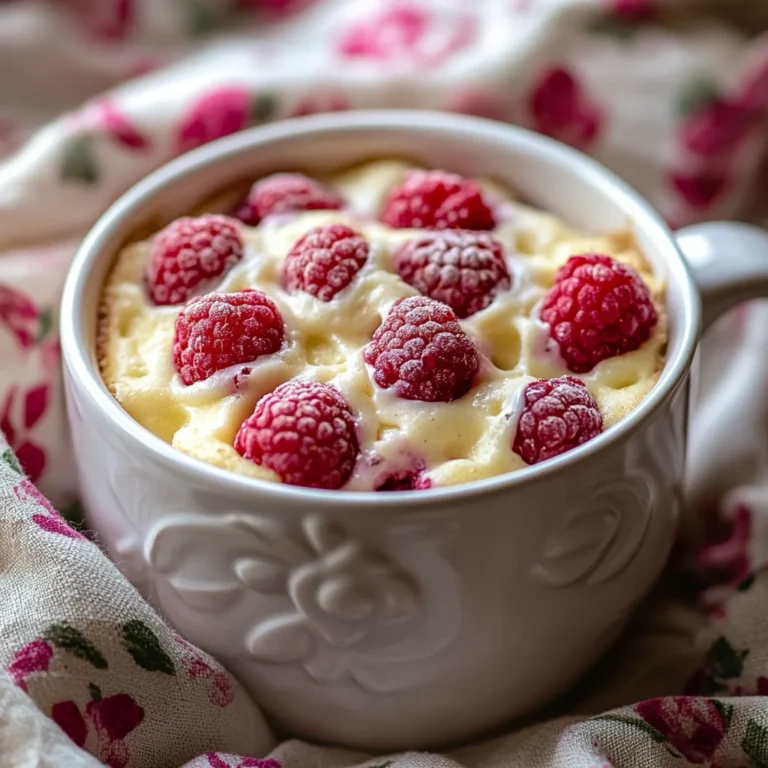
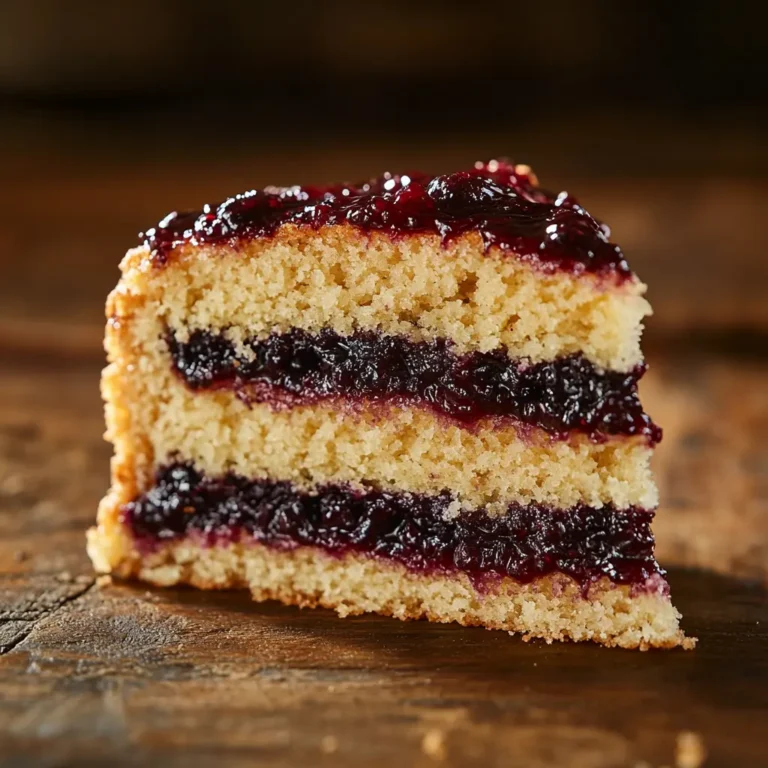
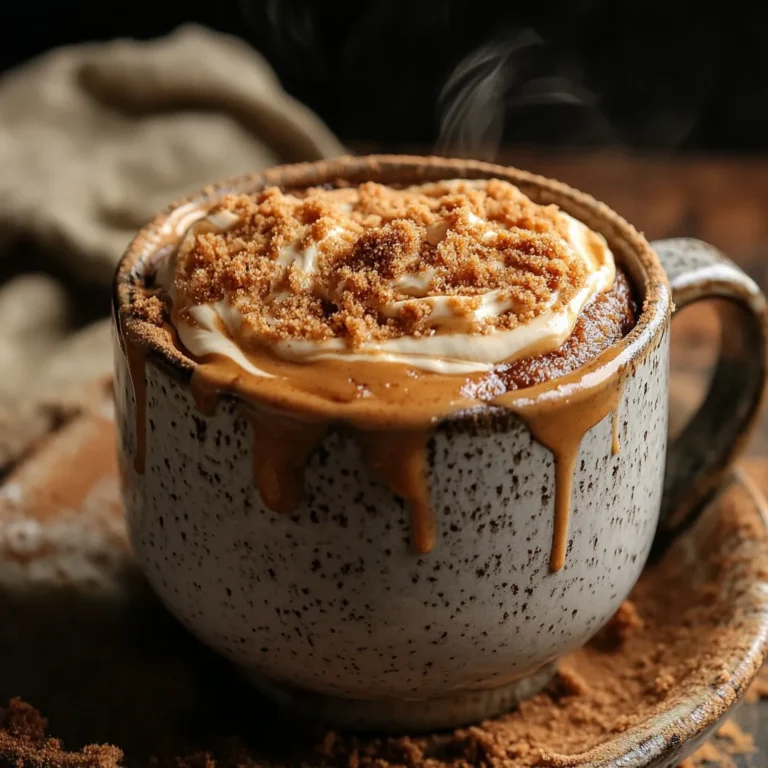
If you’re looking to expand your birthday dessert table, check out our Tennessee Jam Cake, the silky Raspberry White Chocolate Mug Cake, or the dreamy Coconut Vanilla Almond Cake. For easy individual treats, our Biscoff Mug Cake and Strawberry Ladyfinger Cake are absolute crowd-pleasers. And don’t miss the Lemon Dump Cake with Cream Cheese—a tangy-sweet masterpiece.
Happy Birthday Cake: A Vanilla Classic Inspired by Grandma’s Love
This classic vanilla Happy Birthday Cake is moist, fluffy, and frosted with a luscious buttercream—perfect for any celebration and inspired by timeless family traditions.
- 2 ½ cups all-purpose flour
- 2 ½ tsp baking powder
- ½ tsp salt
- ¾ cup unsalted butter (room temp)
- 1 ¾ cups granulated sugar
- 4 large eggs
- 1 tbsp vanilla extract
- 1 cup whole milk
- 1 cup unsalted butter (softened (for frosting))
- 3 –4 cups powdered sugar
- 2 –3 tbsp heavy cream or milk
- 2 tsp vanilla extract (for frosting)
- Pinch of salt (for frosting)
- Optional: food coloring or sprinkles
- Preheat oven to 350°F (175°C). Grease and line two 9-inch round cake pans with parchment.
- Whisk together flour, baking powder, and salt in a bowl.
- In another bowl, beat butter and sugar until light and fluffy.
- Add eggs one at a time, then mix in vanilla extract.
- Alternate adding the dry mixture and milk to the butter mixture, stirring gently.
- Divide batter between pans. Bake 28–32 minutes. Cool completely.
- Make frosting: Beat butter until smooth. Gradually add powdered sugar, cream, vanilla, and a pinch of salt. Beat until fluffy.
- Assemble: Place one cake layer on a plate, spread frosting, add second layer, frost the entire cake, and decorate with sprinkles.
Room temperature ingredients ensure a smooth batter and even rise. Try variations like chocolate or berry-infused versions. Cake layers and frosting can be made ahead. Store frosted cake in the fridge for up to 4 days.
Ingredients & Preparation
Creating this happy birthday cake from scratch is a beautiful way to show love. The ingredients are simple, but the results are pure magic—just like birthdays should be.
🎂 Ingredients

| For the Vanilla Cake | For the Buttercream Frosting |
|---|---|
| 2 ½ cups all-purpose flour | 1 cup unsalted butter, softened |
| 2 ½ tsp baking powder | 3–4 cups powdered sugar |
| ½ tsp salt | 2–3 tbsp heavy cream or milk |
| ¾ cup unsalted butter, room temp | 2 tsp vanilla extract |
| 1 ¾ cups granulated sugar | Pinch of salt |
| 4 large eggs | Optional: food coloring or sprinkles |
| 1 tbsp vanilla extract | |
| 1 cup whole milk |
Step-by-Step Preparation
Step 1: Preheat & Prepare
Start your happy birthday cake journey by preheating your oven to 350°F (175°C). Generously grease two 9-inch round cake pans and place parchment paper on the bottoms for easy release.
Step 2: Mix the Dry Ingredients
Whisk flour, baking powder, and salt together in a large bowl. Set it aside for now.
Step 3: Cream the Butter & Sugar
In another bowl, beat butter and sugar until it’s light, fluffy, and full of air—this gives your birthday cake its soft crumb.
Step 4: Add Eggs & Vanilla
Add eggs one at a time, beating after each, then pour in the vanilla. Your batter should already smell like celebration.
Step 5: Combine with Milk
Add the dry mixture and milk alternately to your wet ingredients. Stir gently—don’t overmix. The charm of a happy birthday cake lies in its tenderness.
Step 6: Bake with Love
Divide the batter between pans.Bake for 28 to 32 minutes, or until a toothpick inserted into the center emerges clean.
Allow the cakes to cool completely before adding any frosting.
Step 7: Make the Frosting
Whip your butter smooth, then slowly add powdered sugar, vanilla, and cream. You want a fluffy, spreadable consistency.
Step 8: Assemble the Cake
Place one cake layer on your favorite plate, add frosting, then stack the second layer on top. Frost generously, then decorate with sprinkles or candles—it’s a happy birthday cake, after all!
Flavor & Texture Journey
From the very first bite, this happy birthday cake whispers comfort and celebration. The vanilla crumb boasts a beautiful golden hue—soft and tender with a moist, yet stable structure that holds up well.. Each slice melts in your mouth, carrying warm notes of creamy butter and fragrant vanilla that feel like a hug from someone you love.
The buttercream frosting adds a dreamy contrast—lush, velvety, and sweet, with just a whisper of vanilla. It wraps the cake in a cozy layer of richness, balancing the lightness of the sponge beneath. And those playful sprinkles? They add the perfect festive crunch and pop of color that says, “Today is your day.”
As it bakes, your kitchen fills with the nostalgic aroma of birthdays past—sugar caramelizing, butter warming, memories rising like the cake itself. This isn’t just a happy birthday cake—it’s a moment. A celebration. A centerpiece for laughter, hugs, and heartfelt wishes.
🛠️ Section 3: Variations, Tips & Storage
Whether you’re baking this happy birthday cake for a big bash or a cozy gathering, a few clever twists can make it uniquely yours.
🎨 Variations
- Chocolate Lovers’ Twist: Replace ½ cup of flour with unsweetened cocoa powder for a chocolate birthday version.
- Berry Burst: Fold 1 cup of fresh or frozen raspberries or strawberries into the batter for fruity pockets of joy.
- Gluten-Free Option: Use a 1:1 gluten-free baking flour blend—just be sure it includes xanthan gum for structure.
- Dairy-Free Delight: Swap out butter for vegan butter and use almond or oat milk for a delicious dairy-free version.
💡 Tips for Success
- Room Temp Ingredients: Always bring your eggs, milk, and butter to room temperature before starting. It ensures a smoother batter and better rise.
- Don’t Overmix: Once you add flour, mix gently—overmixing can toughen your happy birthday cake.
- Level the Layers: Use a serrated knife to trim your cakes if they bake unevenly. This helps the frosting sit beautifully.
🧊 Storage & Make-Ahead
- Make Ahead Tip: You can bake the cake layers up to two days in advance.. Wrap them tightly in plastic wrap and keep at room temperature or refrigerate.
- Frosting: Store buttercream in an airtight container in the fridge for up to a week. Let them reach room temperature and give the frosting a quick rewhip before applying.
- Leftovers: Keep the frosted happy birthday cake in the fridge for up to 4 days. For the best texture and flavor, let the cake sit at room temperature before serving.
Nostalgia, Serving Ideas & Emotional Memories

I can still picture my grandmother’s kitchen—sunlight pouring in, the scent of vanilla thick in the air, and a big bowl of buttercream resting on the counter. She’d hum old songs while she worked, and I’d sneak finger swipes of frosting when she wasn’t looking. That happy birthday cake wasn’t just dessert. It was tradition. A hug in every bite.
Now, every time I make this cake, those warm memories come back in waves—candles flickering, loved ones singing, and the first joyful slice being served with laughter all around. That’s what makes this cake special. It’s layered with love, not just butter and flour.
🍽️ Creative Serving Ideas
- Candle Dreams: Personalize the cake with candles that match the age or color theme—sparkler candles add a magical touch.
- Drip Decoration: Add a colorful ganache or white chocolate drip for an extra wow factor.
- Mini Flags & Name Tags: Craft small paper flags with the birthday person’s name or sweet wishes for a playful, handmade feel.
- Theme It Up: Turn your happy birthday cake into a character-themed or color-coordinated centerpiece with simple toppers or edible prints.
🫶 Serve With Heart
Slice it warm or chilled, serve it with scoops of vanilla ice cream, or pair with fresh berries and whipped cream. More than anything, serve it with hugs, smiles, and a camera nearby—you’ll want to remember the moment when this happy birthday cake made someone’s whole day.
Conclusionn
There’s something timeless about a homemade happy birthday cake. It’s more than flour and frosting—it’s love passed from one generation to the next, wrapped in sprinkles and candles. Every slice carries a story, a celebration, and a reason to smile.
This cake isn’t just about birthdays. It’s about belonging. About pausing life’s rush to sing, to hug, to share a piece of joy on a plate. Whether you’re baking it for someone turning five or ninety-five, it holds the same beautiful truth: you matter, and you’re loved.
So when the next special day rolls around, don’t hesitate. Tie on that apron, turn up some music, and let the magic begin. Bake this happy birthday cake, and turn simple ingredients into unforgettable memories. You’ll find more festive inspiration and decorating ideas shared recently on My Facebook Page and pinned to My Pinterest Page.
FAQs
1. Can I make this happy birthday cake in advance?
Absolutely! Bake the cake layers up to 2 days ahead. Wrap them well and store at room temperature. Frosting can also be made in advance and kept in the fridge for a week.
2. Can I freeze the cake?
Yes! Wrap unfrosted layers tightly in plastic wrap and freeze for up to 3 months. Thaw overnight in the fridge before frosting.
3. What if I don’t have cake flour?
No problem—use all-purpose flour as listed. Just be sure to sift it for a lighter texture.
4. Can I make this recipe into cupcakes?
Definitely. This happy birthday cake batter makes about 24 standard cupcakes. Bake at 350°F for 18–22 minutes.
5. Is there a way to make it dairy-free?
Yes! Use plant-based butter and your favorite non-dairy milk like almond or oat. The texture and flavor are still delightful.
6. What’s the best way to store leftovers?
Store the frosted cake in an airtight container in the fridge. Bring slices to room temperature before serving for the softest bite.
7. How do I get a smooth frosting finish?
Use a bench scraper or offset spatula, and chill the frosted cake for 15 minutes before the final smoothing.
8. Can I double the recipe for a bigger celebration?
Yes! Double the ingredients and bake in larger pans or make extra layers for a showstopping centerpiece.